


Michael Morabito
November 16, 2026
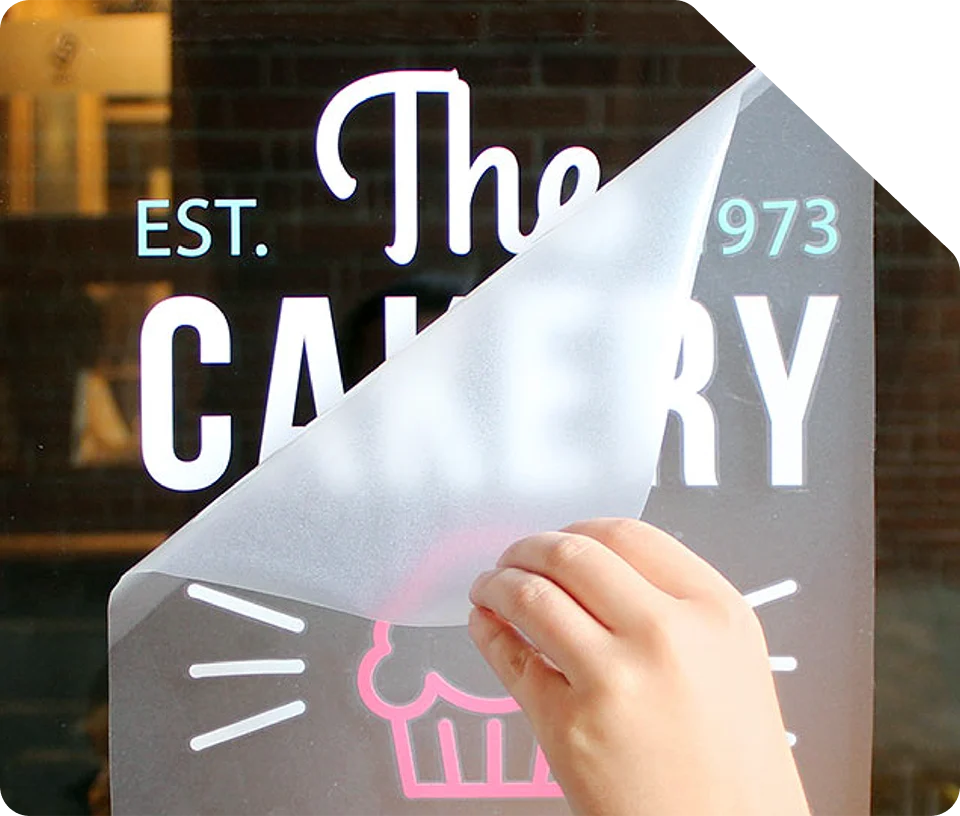
Wall decals for offices and stores are printed or cut adhesive vinyl applied directly to a painted wall, used for reception logos, mission statements, murals, wayfinding, and seasonal displays. Choose removable adhesive for rented space or graphics you’ll change, and permanent adhesive for long-term branding. Apply them to smooth, clean walls with paint that has cured for at least two to four weeks, at room temperature; textured, brick, and concrete walls need a special high-tack vinyl. Large walls are printed in overlapping panels. To remove a decal, warm it with a hair dryer and peel it back slowly at a low angle. Unique Print NY at 242 West 36th Street, New York, NY 10018 prints full-color vinyl wall decals and cuts them to shape in Midtown Manhattan. Call (212) 420-9198 Monday–Friday 9AM–5PM.
A wall decal is one of the fastest ways to make a space look like your brand. A logo behind the reception desk, your values on the wall of a conference room, a mural in a café, or a seasonal display in a store can go up in an afternoon and come down without repainting. In NYC, where most businesses rent and many redesign every few years, that flexibility matters as much as the look.
But walls are less predictable than glass. Paint finish, texture, fresh paint, and the building’s own rules all affect whether a decal sticks, how it looks, and whether it comes off cleanly. This guide covers the types of wall decals, which walls they work on, how to size and measure, how to install and remove them, and what to check before you order. For pricing and options, see our custom decal printing page.
Types of Wall Decals
Reception & Lobby
Full-color logos printed on vinyl and cut to shape. The most common choice behind a reception desk or in an entryway, especially for logos with gradients, photos, or several colors.
Clean, Painted Look
Letters cut from solid-color vinyl and applied with transfer tape, so only the letters sit on the wall. Looks almost hand-painted. Ideal for mission statements, values, quotes, and room names. See vinyl cut letters.
Floor to Ceiling
Large photographs, illustrations, or patterns covering most or all of a wall, printed in panels that are installed side by side. Used in cafés, retail, offices, and event spaces.
Directions & Labels
Room numbers, arrows, department names, and directions. Cheaper and faster to change than fixed signs when teams move or floors are reconfigured.
Short Term
Holiday displays, product launches, and sales promotions in stores and restaurants. Printed on removable vinyl so they come down cleanly when the season ends.
Made to Be Shared
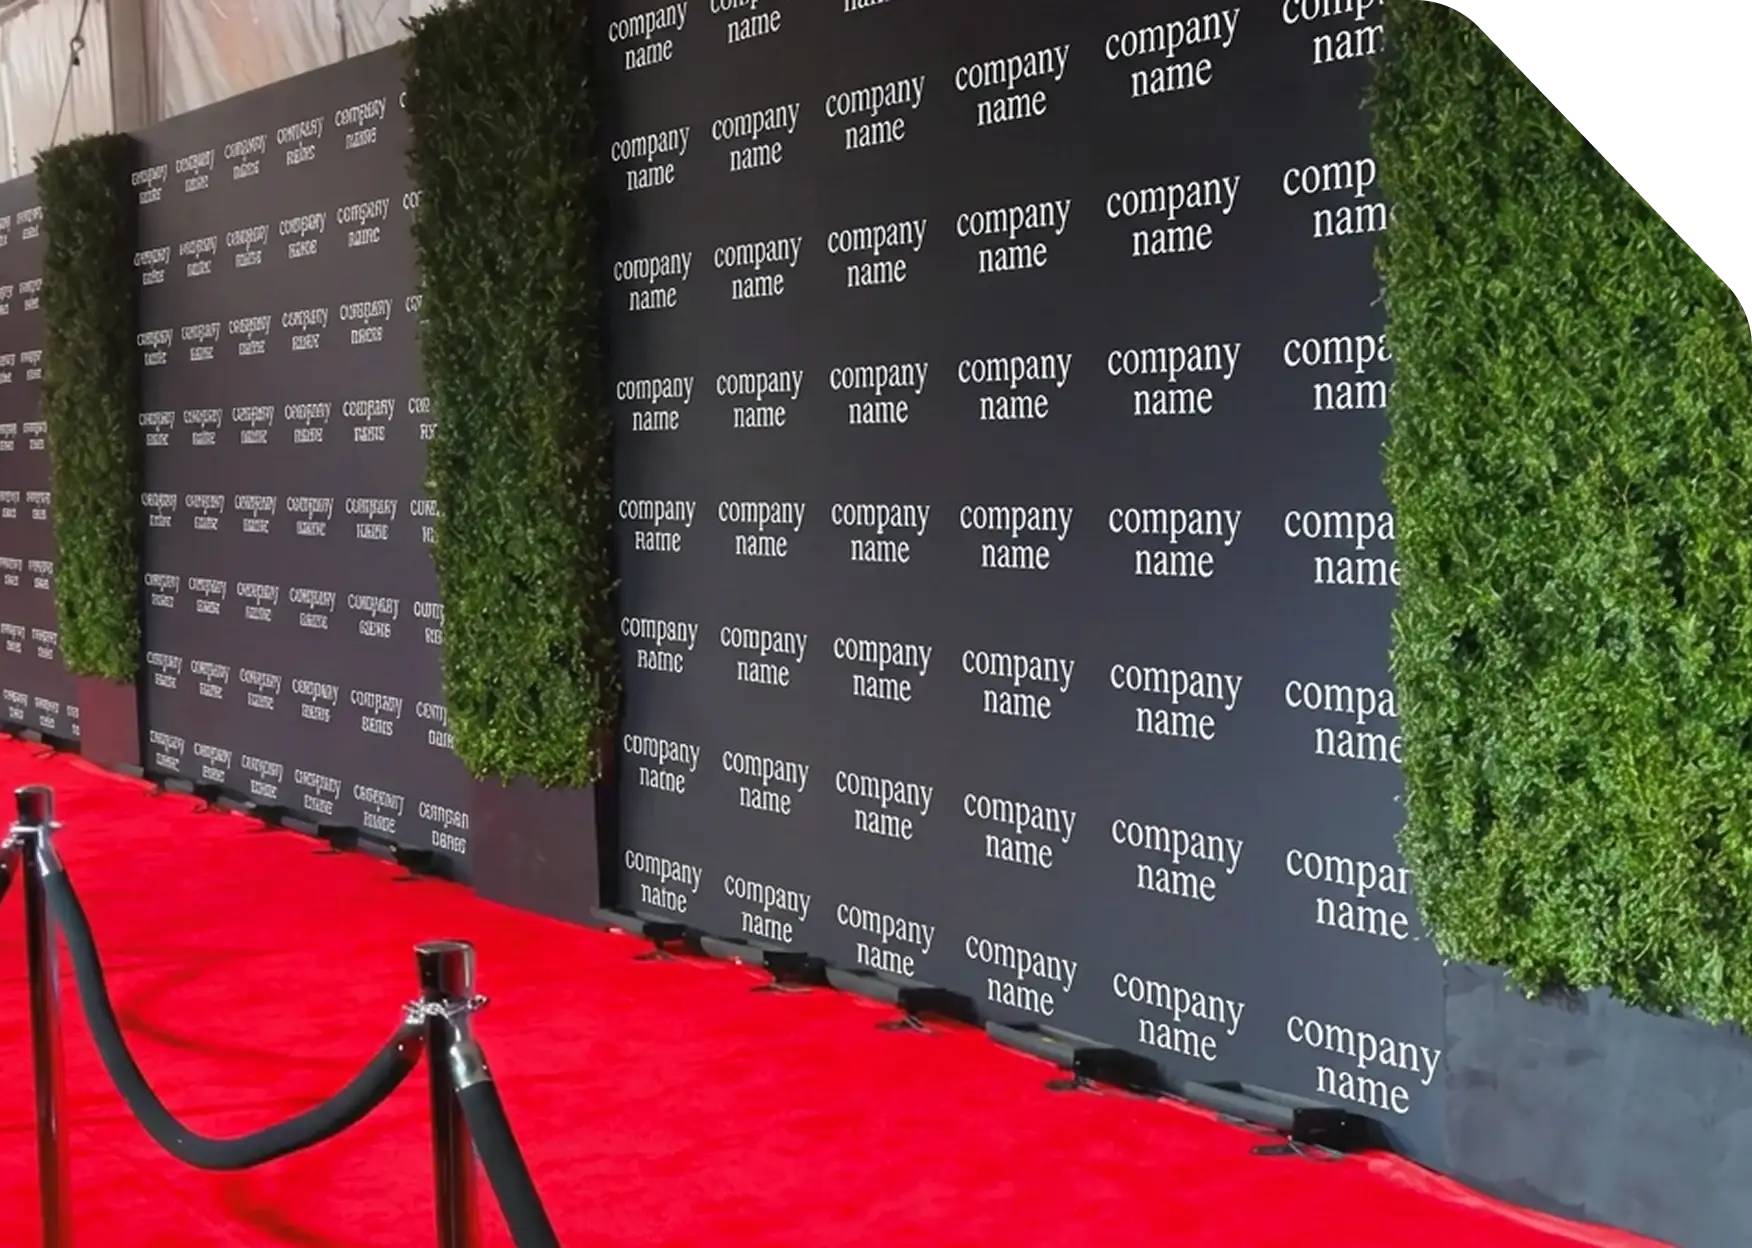
Branded walls designed as a backdrop for customer photos, a permanent alternative to an event step and repeat. Use a matte finish so phone flashes don’t glare.
Will It Stick? Wall Surfaces Compared
The wall decides more than the decal does. Before ordering, check the surface where the decal will go:
| Wall Surface | How Decals Perform | What to Do |
|---|---|---|
| Smooth drywall, eggshell or satin paint ★ | Excellent. The best surface for wall decals | Clean the wall and apply |
| Smooth drywall, flat or matte paint | Good, but flat paint is porous and can lift off with the decal on removal | Use removable adhesive and test a small piece first |
| Freshly painted wall | Poor until the paint cures. Solvents trapped in new paint cause bubbles and weak adhesion | Wait at least 2–4 weeks after painting |
| Light texture (orange peel) | Fair. Standard vinyl may not grip the low points | Use a thicker, high-tack vinyl and press firmly |
| Brick, concrete, heavy texture | Poor with standard vinyl | Requires a specialty textured-wall vinyl applied with heat. Ask before ordering |
| Wallpaper, fabric, or vinyl wall covering | Unpredictable; may damage the covering on removal | Test first, or mount a printed panel on the wall instead |
Press a strip of painter’s tape and a strip of clear packing tape onto the wall, leave them for a day, and pull them off. If the packing tape won’t stay stuck, a decal won’t either. If it pulls paint off, use removable adhesive and expect some touch-up when the decal comes down.
Removable or Permanent Adhesive?
| Adhesive | Best For | Removal |
|---|---|---|
| Removable ★ | Rented offices and stores, seasonal displays, graphics you’ll update, walls you’ll have to restore at the end of a lease | Peels off cleanly from cured, good-quality paint within its rated life |
| Permanent | Long-term branding in owned space, high-traffic corridors, walls that are rubbed or cleaned often | Comes off with heat and patience, but may take paint with it |
Most wall decals look best with a matte finish: it hides the slight texture of the wall, cuts glare from overhead lights, and photographs well. Add a protective laminate in hallways, kitchens, and anywhere the wall gets bumped or wiped. Tell us how long the decal needs to stay up when you request a quote, and we’ll recommend the right vinyl.
Sizing, Panels, and Measuring
Panels & Overlaps
Large graphics are printed in panels. Vinyl comes in rolls of a fixed width, so a mural or a wide logo wall is printed as a series of vertical panels that are installed side by side with a small overlap, usually about 1/2″. On busy images, the overlap is almost invisible. On large areas of flat color, plan seams where they’ll be least noticeable.
Measure the wall yourself, in three places. Measure the width at the top, middle, and bottom, and the height at both ends and the middle. Old NYC buildings are rarely square. Use the smallest measurement, and allow a margin around the edge for full-wall graphics.
Mark the obstacles. Note outlets, light switches, thermostats, vents, sprinklers, door frames, and baseboards, with their distance from the floor and corner. Send a photo of the wall with your measurements written on it.
Size logos to the viewing distance. A reception logo is usually seen from 10 to 20 feet away; letters a few inches tall are too small. As a rough guide, allow about an inch of letter height for every 10 feet of viewing distance, and more for a logo that needs presence.
Measure 3 times, use the smallest
Send a photo with measurements
How to Install a Wall Decal
Small and medium decals are easy to apply yourself with a helper. Murals and multi-panel graphics are best left to an experienced installer.
-
Check the conditions
Install at normal room temperature, roughly 50°F to 90°F, with paint that has cured for at least two to four weeks. Avoid installing on a wall that’s cold from an open window or warm from a radiator. -
Clean the wall
Wipe the area with a lint-free cloth and a mild cleaner or a little isopropyl alcohol diluted with water, then let it dry completely. Dust and grease are the most common reasons decals lift at the edges. -
Position it with tape
Hold the decal on the wall with its backing still on, check it with a level, and tape it across the top edge to make a hinge. Step back and check the position from where people will see it. -
Peel and apply from the center out
Lift the decal on its hinge, peel the backing away, and lower the decal onto the wall while pressing from the center outward with a squeegee or a plastic card. Work slowly to push out air bubbles. For large decals, peel the backing a section at a time. -
Remove the transfer tape (cut lettering only)
For cut vinyl letters, rub over the transfer tape firmly, then peel it back at a sharp angle, close to the wall. If a letter lifts with the tape, press it back down and rub again before continuing. -
Finish the edges and leave it alone
Press all edges down firmly. Prick any remaining bubbles with a fine pin and press the air out. Avoid washing or touching the decal for a day or two while the adhesive bonds.
How to Remove a Wall Decal
-
Warm the vinyl
Use a hair dryer on a warm setting, a few inches from the wall, to soften the adhesive. Don’t use a heat gun on painted drywall unless you’re experienced; too much heat can blister paint. -
Lift a corner and peel slowly at a low angle
Use a fingernail or plastic card to lift a corner, then peel the decal back on itself, close to the wall, keeping the angle low. Peeling straight out from the wall is what pulls paint. -
Keep warming as you go
Warm the next section before you peel it. If the vinyl tears or the paint starts to lift, stop, warm it more, and peel more slowly. -
Clean off any residue
Wipe away leftover adhesive with warm soapy water or a little isopropyl alcohol on a soft cloth. Test any adhesive remover on a hidden area of the paint first.
NYC Office and Storefront Considerations
Before You Order
Many commercial leases require tenants to return walls to their original condition. Removable adhesive and a quick check with your landlord avoid surprise repainting costs at move-out.
Common in Manhattan
Many Manhattan office buildings require outside installers to provide a certificate of insurance and to book the freight elevator in advance. Ask your building manager before scheduling an install.
Plan the Timeline
If you’re renovating, schedule decals for the end, at least two to four weeks after the last coat of paint. Rushing a decal onto fresh paint is the most common cause of bubbling.
Safety First
Don’t cover exit signs, fire alarm devices, sprinkler heads, or required notices. Plan graphics around them from the start.
Unique Print NY prints from print-ready PDFs. Our print guidelines and PDF checklist for commercial printing cover file setup. Not sure whether you need a decal or a sticker? See decals vs. stickers. For glass, see our guide to window decals for business.
Frequently Asked Questions
Michael Morabito
November 16, 2026